
This is an enhancement to the wiki server I use to document equipment and processes on our farm. Here is the initial article if you haven’t read it yet.
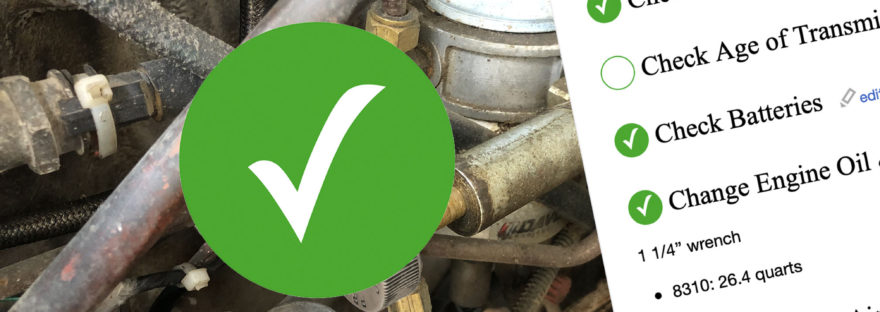
On my farm wiki server I have several pages with checklists for equipment prep and found myself wanting to check off each item as I work through the checklist. I created a simple template for a toggle checkbox that can be dropped in on any page to track completion.
Wiki Templates
In a MediaWiki server, a template is a saved chunk of HTML that can be reused anywhere in the site. This allows you to make something once and easily reuse it across the site without duplicating all the formatting and markup each time. Here’s MediaWiki’s template help page for more information.
Once this is all set up, I can add a clickable checkbox anywhere on a page by adding the following template reference:
{{Template: checkbox}}Setup
In addition to creating the template, we’ll also need to add some custom CSS and Javascript to the common files in the wiki server. In order to easily access each of these three locations, I recommend creating a utility page to link to these obscure pages without manually typing in the URL and forgetting where these live in case you want to make changes down the road.
1. Create Utility Page
From the home page (or wherever is out of the way and accessible) create a link to a new page which will host links to these other pages that need to be edited. I called mine [[Wiki Utility Pages]] and put it at the bottom of my home page.
Once you open that link, paste in the following links:
*[[MediaWiki:Common.css]]
*[[MediaWiki:Common.js]]
*[[Template:Checkbox]]
Once you save this page, you should see the first two links in blue (since those files already exist) and the template link in red.
2. Add Custom CSS
Open the first link (Common.css). You should see an initial line at top that says “CSS placed here will be applied to all skins”. Edit the file and paste the following CSS below that line (and under any other CSS that may already be there)
.listCheckbox {
  cursor: pointer;
  color: #FFFFFF;
  border-radius: 50%;
  height: 1.8rem;
  width: 1.8rem;
  line-height: 1.8rem;
  text-align: center;
  font-size: 1.5rem;
  border: 1px solid #00AA00;
  display: inline-block;
}

@keyframes checkAnimation {
  0% {
    transform: rotate(-30deg);
    background-color: rgba(1, 1, 1, 0);
    color: rgba(1, 1, 1, 0);
  }

  100% {
    background-color: #00AA00;
    color: #FFFFFF;
  }
}

.listCheckboxUnchecked {
  background-color: rgba(1, 1, 1, 0);
  color: rgba(0, 0, 0, 0);
}

.listCheckboxChecked {
  animation: checkAnimation 0.5s;
  background-color: #00AA00;
  color: #FFFFFF;
}
This defines styles for the size, color, and format of a round, green checkbox. It also includes some fade/rotation animation on checking to be fancy.
3. Add Custom Javascript
Same routine here: open the Common.js file and add the following code:
function checkBoxClick(checkbox) {
  if(checkbox.classList.contains("listCheckboxUnchecked")){
    checkbox.className="listCheckbox listCheckboxChecked"
  } else if(checkbox.classList.contains("listCheckboxChecked")){
    checkbox.className="listCheckbox listCheckboxUnchecked"
  }
}

$(".listCheckbox").attr("onclick","checkBoxClick(this)");
This creates a function with the logic to invert between the checked and unchecked styles. The bottom line attaches this function to all elements with a class of “listCheckBox”
4. Create Checkbox Template
Lastly, follow the link to the checkbox template to create the template. Paste the following code in:
<div class="listCheckbox listCheckboxUnchecked">✓</div>Ironically, the template appears to be doing the least work here- just instantiating a div with the right class to get picked up by the Javascript.
5. Give it a try
Go to a page on your site and try adding {{Template: checkbox}} somewhere. You should have a checkable checkbox!